Live Chat allows you to communicate with your website visitors in real time, helping you respond quickly to enquiries and convert more leads.
Follow the steps below to set up and customise your Live Chat.
Accessing Live Chat Settings
- In Workspace, go to the top navigation menu.
- Select Client Management.
- Click Inbox (Emails and Live Chat).
- Select Live Chat Settings at the top of the page.

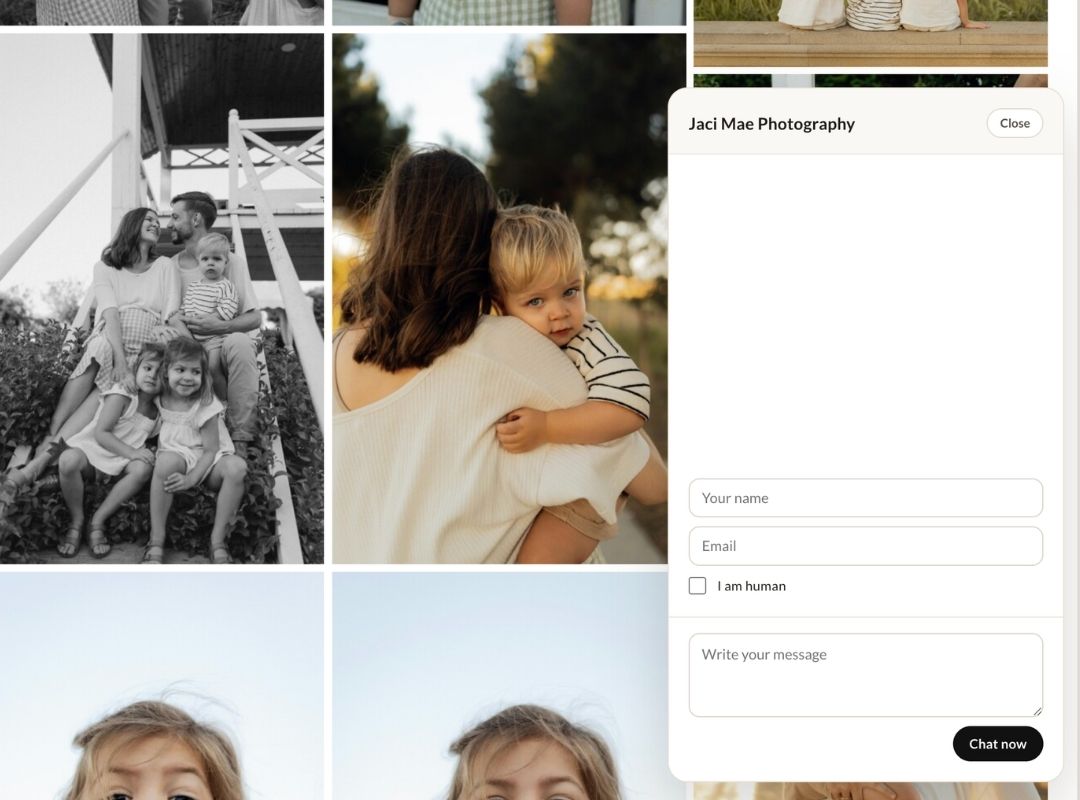
Step 1: Configure Your Chat Settings
Set up how your Live Chat will appear and function:
- Studio Name: Displayed to clients in the chat
- Welcome Greeting: The first message clients will see when the chat opens
- Launcher Text: The text shown when the chat is minimised (bottom right corner of your website)
- Button Title: The label on your chat button
- Button Colour & Styling: Customise to match your brand
- Auto Open Delay: Set how long a visitor is on your site before the chat window automatically opens
- Form Button (Optional): Add a button linking to a form within the chat
(For help creating forms, see the Forms Help Centre article)
- Email Notifications: Enable this to receive an email when a new chat message comes in
Step 2: Preview Your Live Chat
Use the preview within settings to review your setup.
Check that:
- Your branding looks correct
- Your messaging feels appropriate
- The auto open timing suits your audience
Step 3: Enable Live Chat
When you’re ready to go live, you have two options:
Option A: Use on Your Workspace Website
- Toggle Enable Live Chat to turn it on
Option B: Use on a Third-Party Website
- Copy the embed code provided.
- Paste it into the header JavaScript section of your website.
Tips for Using Live Chat
- Keep your welcome message friendly and simple (e.g. “Hi! How can I help?”)
- Avoid opening the chat too quickly—give visitors time to browse first
- Use Live Chat to capture leads, not just answer questions
- Enable email notifications so you don’t miss messages when you’re offline