Workspace allows you to quickly create and share galleries with your clients. This guide walks you through creating your first gallery and delivering it.
What you’ll achieve
By the end of this guide, you will be able to:
- Create a gallery
- Upload images
- Share the gallery with a client
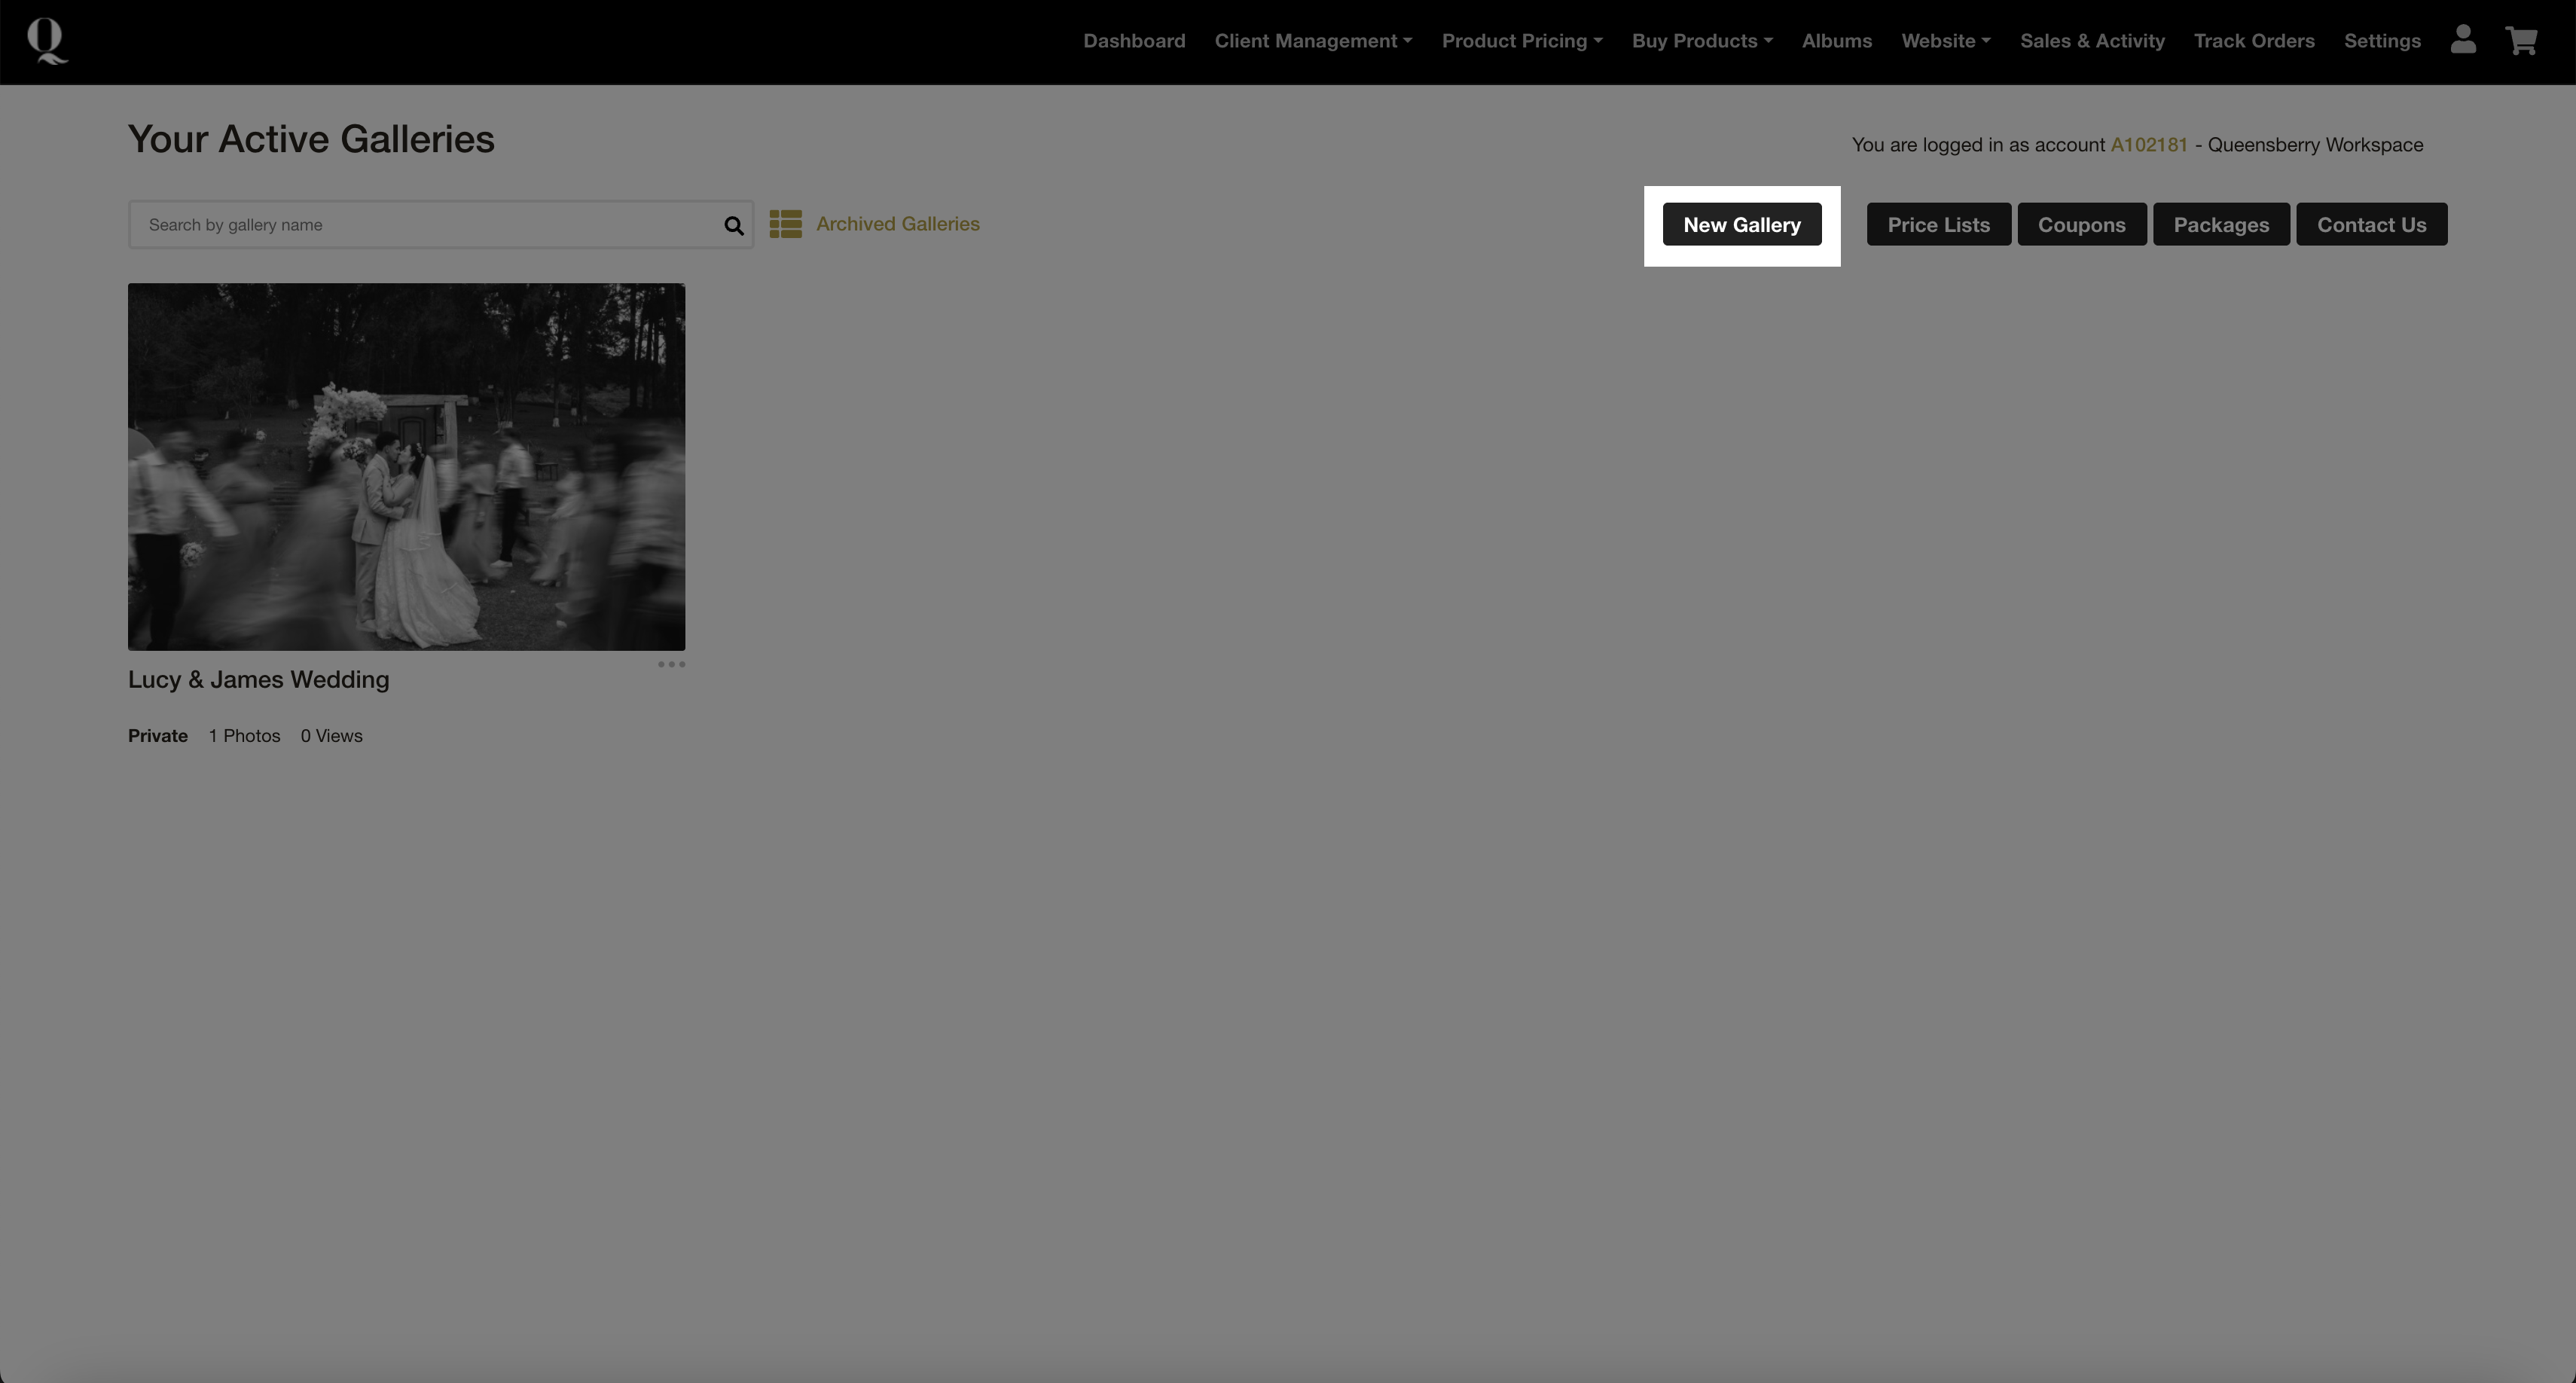
Create a new gallery
- Go to Workspace
- Click Create New Gallery
- Enter a gallery name (e.g. Smith Wedding)
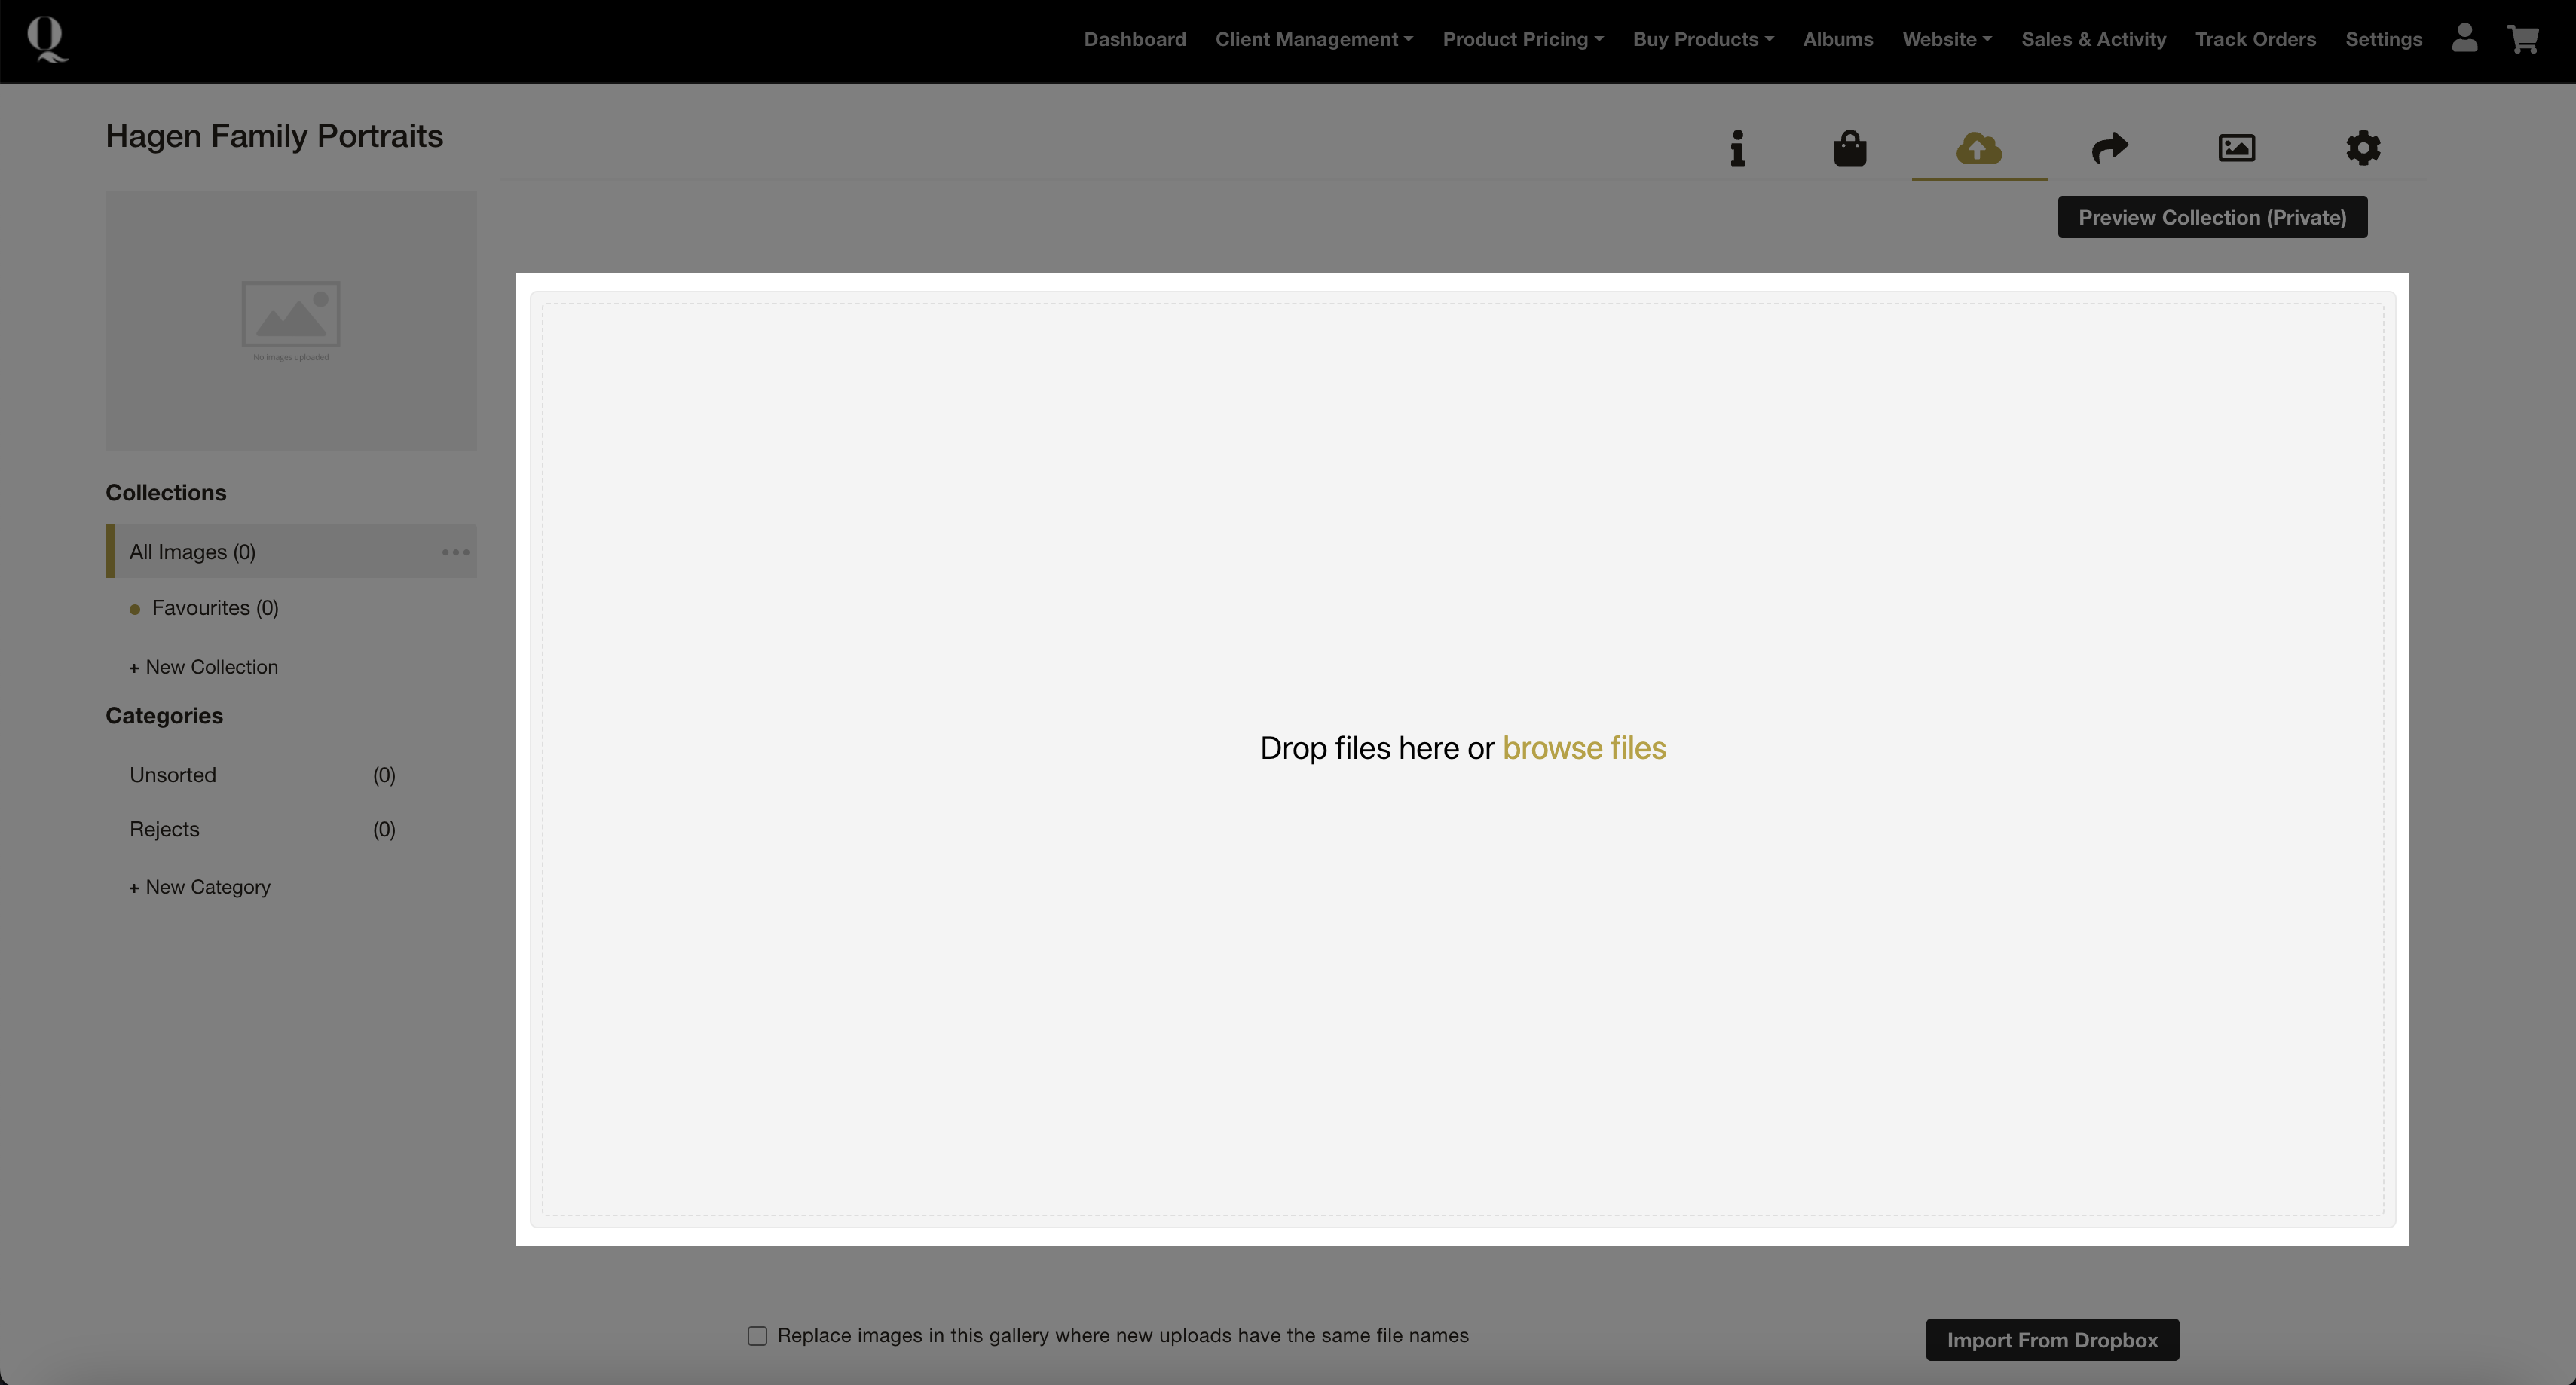
Upload your images
- Open your gallery
- Click Upload Images
- Select your files
Your images will appear automatically once uploaded.
Organise your gallery (optional)
You can organise your gallery by:
- Changing its appearance (to do this go to Settings / Design / Image Gallery Defaults)
- Creating categories (e.g. Ceremony, Reception) - these work as bookmarks for your clients to easily find the section of images they want to view.
- Re-ordering images - to do this change the gallery sorting method to manual in the gallery settings (the cog icon)
This step is optional. You can do all the above later, so keep it simple for now. You will get a professional looking gallery "right out of the box".
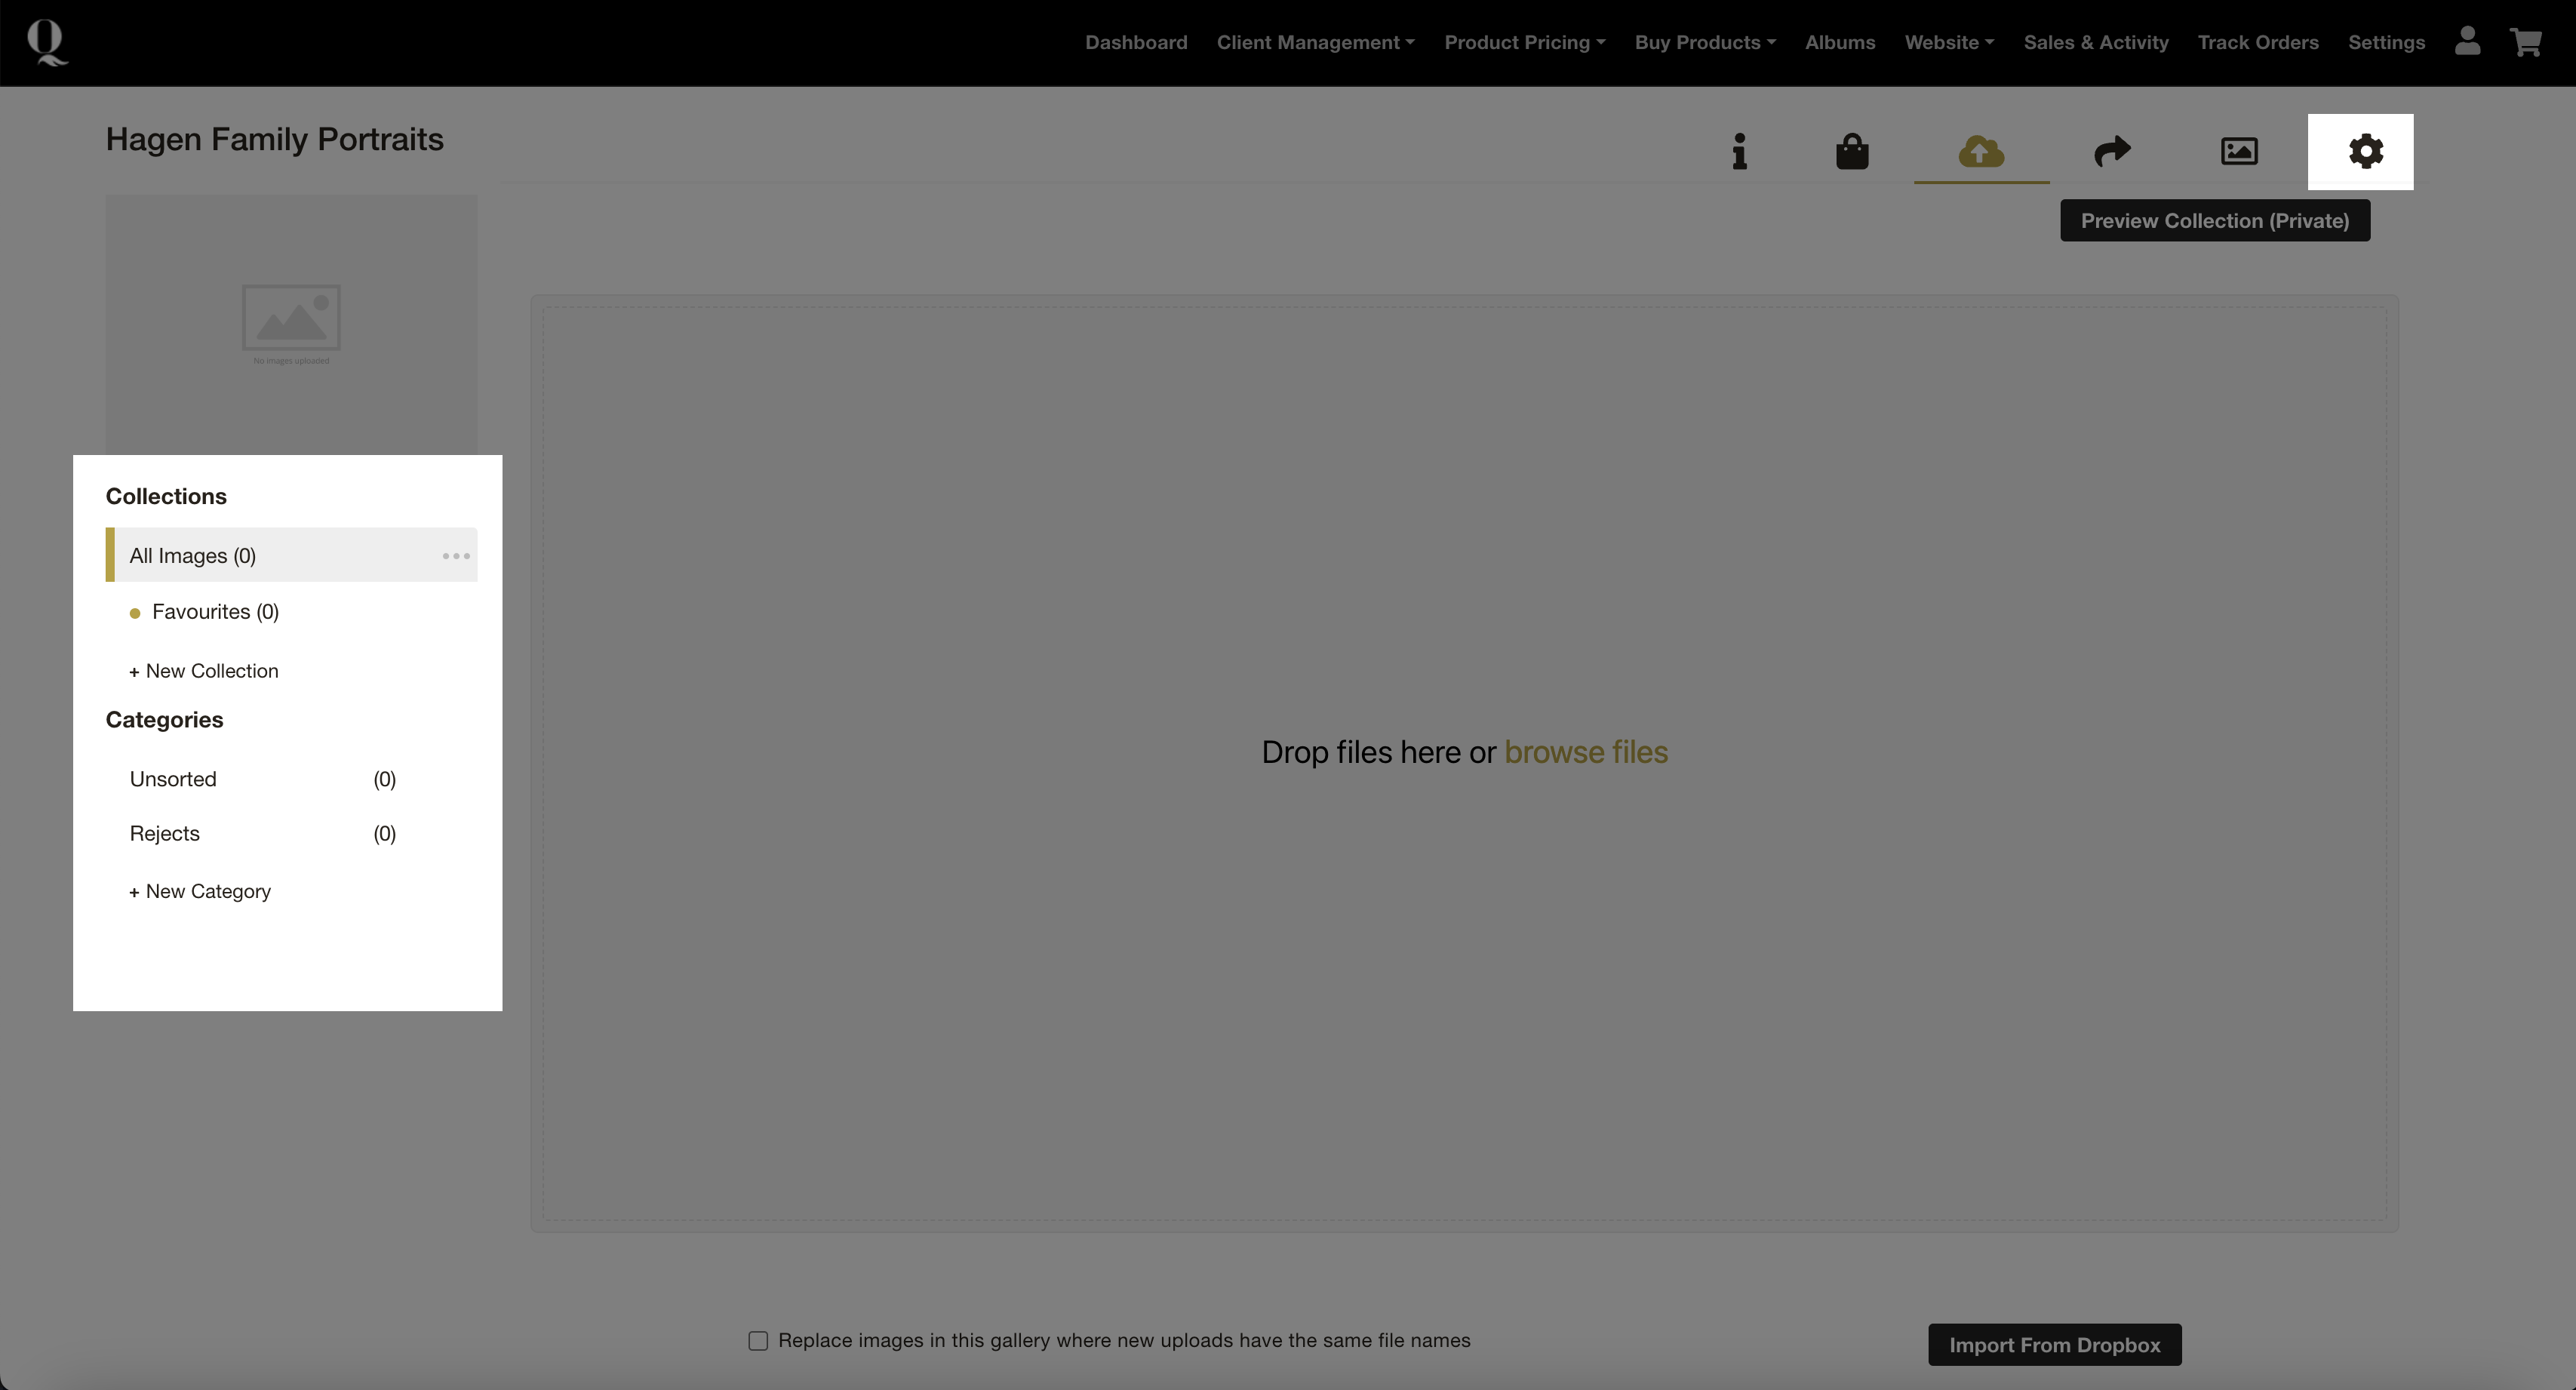
Preview your gallery
- Click on the gallery settings (the Cog icon, top right)
- Check out all the settings available, but for now just add a title, leave the Privacy setting on Private and note (or change) the password.
- Click Preview Collection.
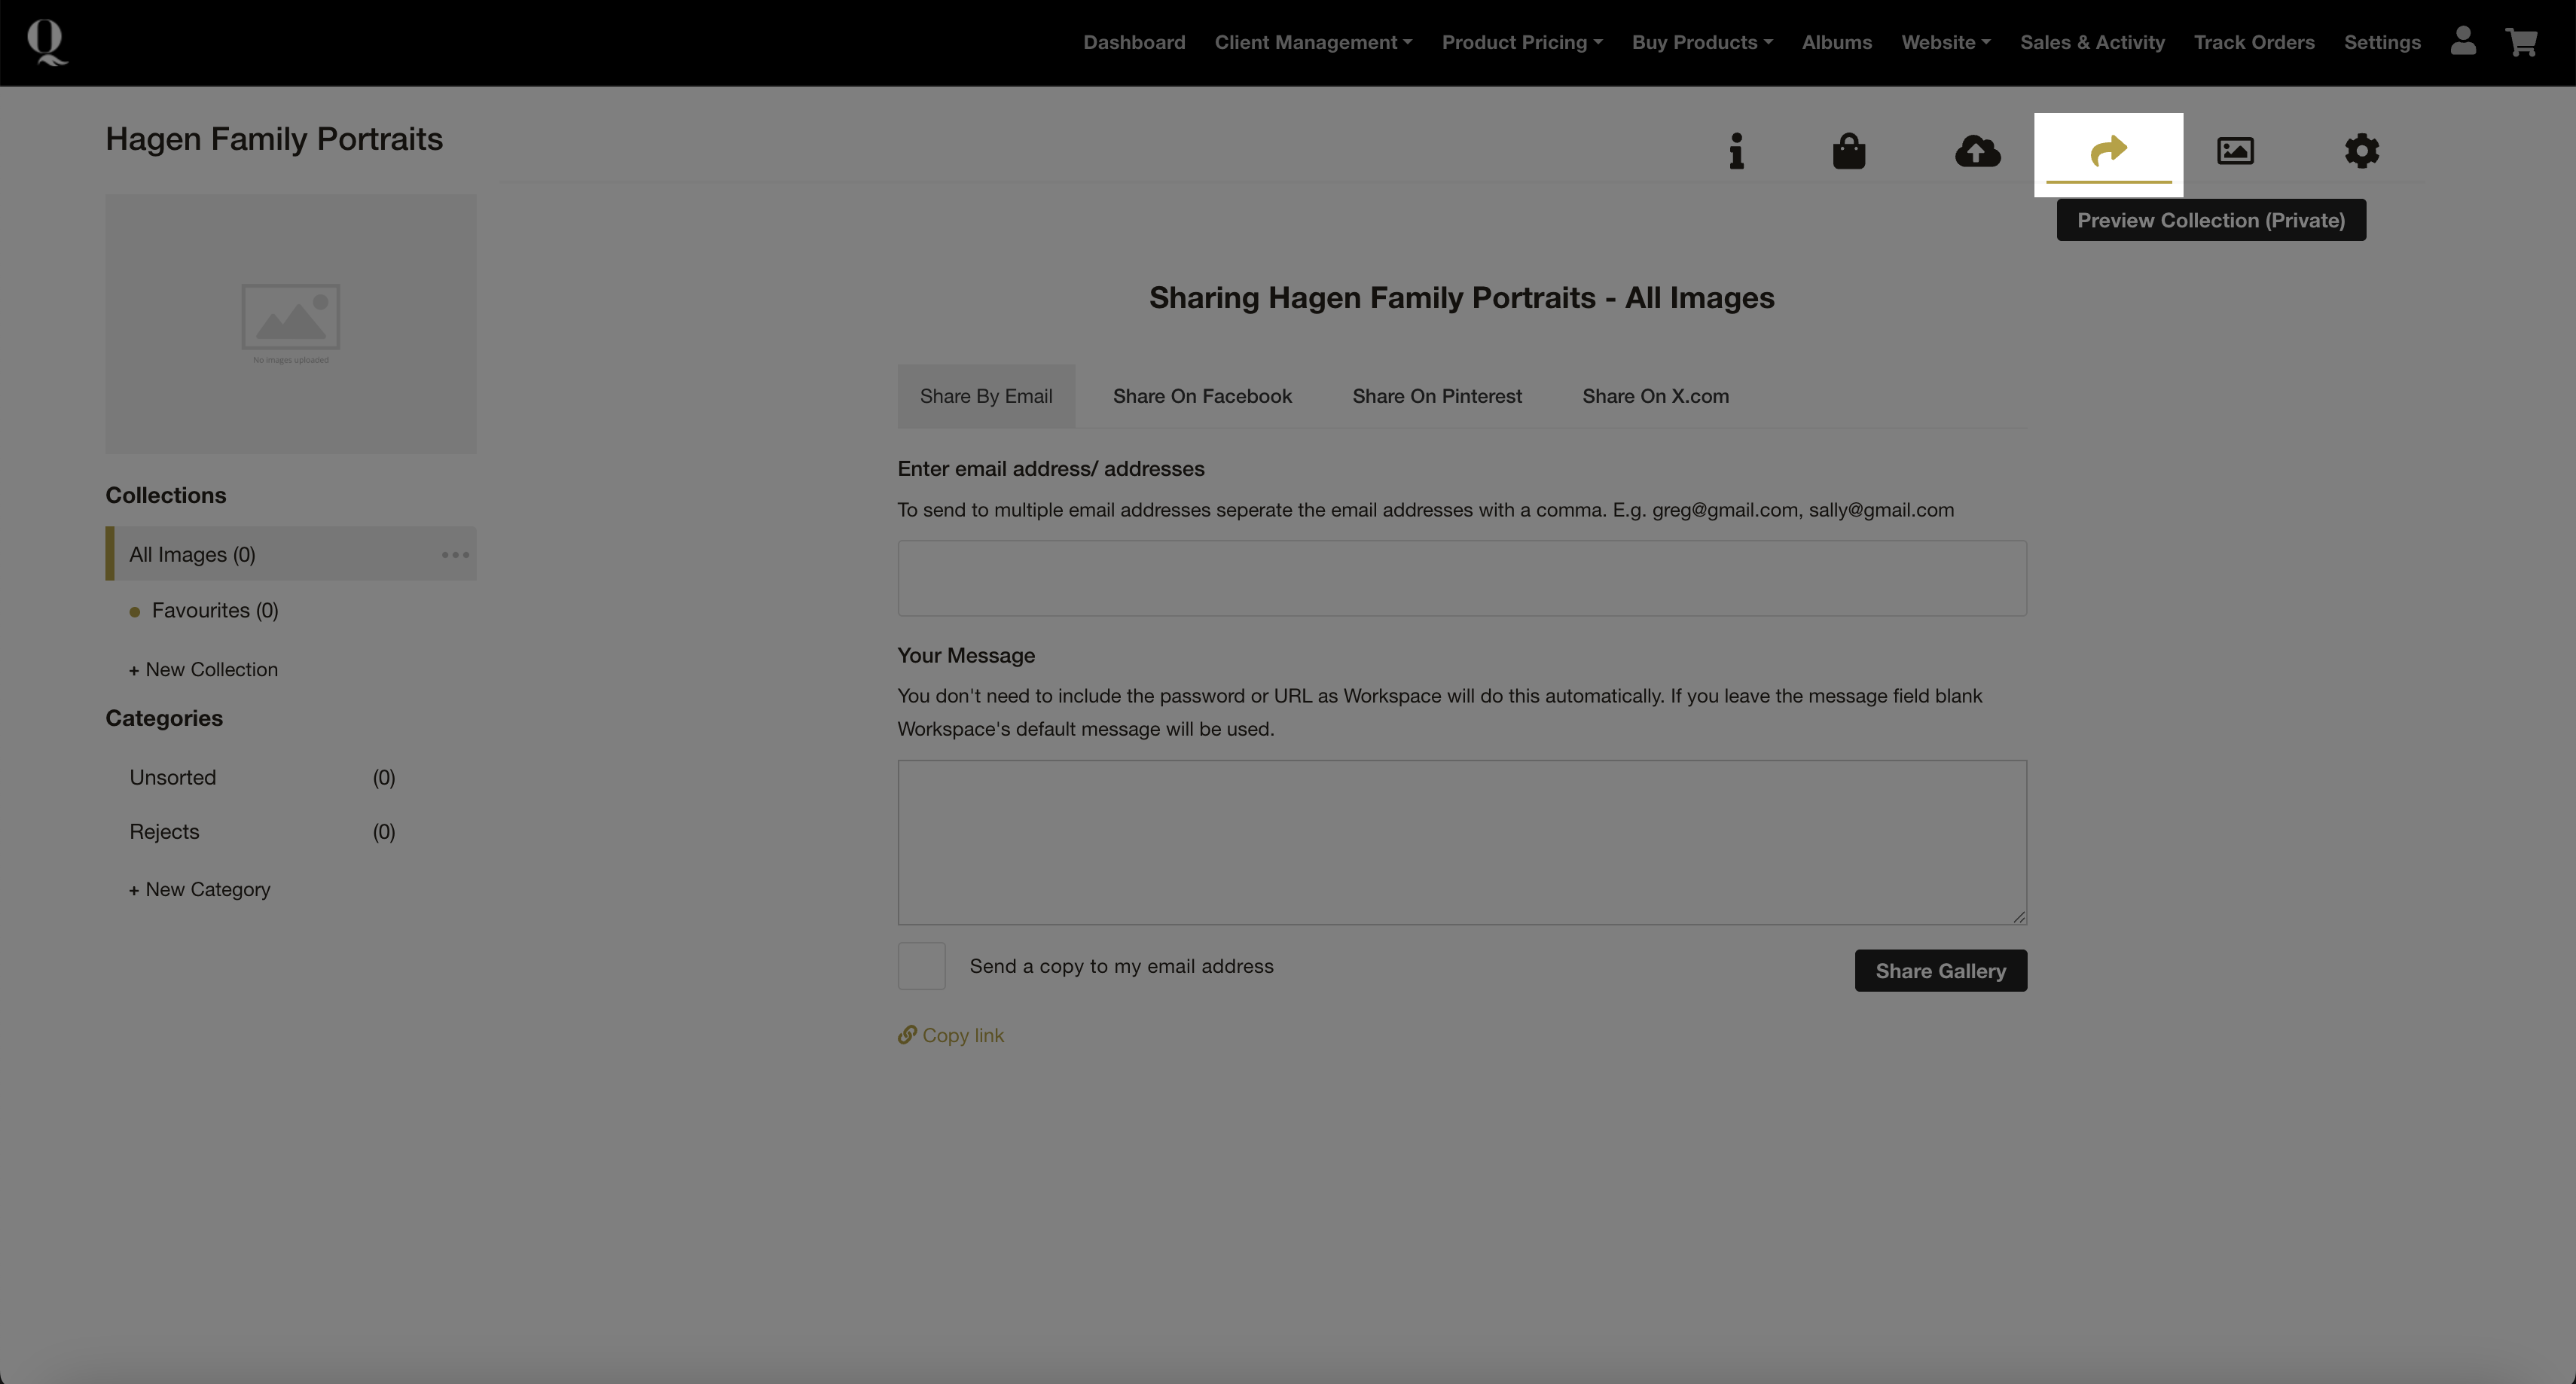
Share your gallery
- Click the Share icon.
- Enter client's email address.
- Press Share Gallery.
Your client can now view and interact with the gallery.
What your client sees
Clients receive a professional gallery where they can:
- View images across devices
- Mark favourites
- Prepare for ordering (if enabled later)
Next step
Once your gallery is live, you can enable selling and start accepting orders.